Backing Up and Restoring a Database
The following information represents a quick guide on backing up and restoring a database. For questions or assistance with backing up and restoring a database, please contact support@posim.com or call 800.553.9314 to speak with a tech support representative.
POSIM provides users with the ability to backup and restore a copy of the database. Backups can be used to restore a database for use with remote sales or in the event of an emergency, backups can be restored to recover data. Taking a regular backup is essential to ensure that the data is protected.
It is highly recommended to backup the database regularly—to both the local machine and to an external hard drive or off-site backup service. We recommend using a cloud based service such as Backblaze or other services to store off-site backups. In the event that theft, damage, hardware failure or other unexpected events occur, external or off-site backups are recommended to get the store back up and running as quickly as possible.
There are two options for backing up the POSIM database:
Option 1: Set up an automatic backup to run at a scheduled time.
- Follow these setup instructions for Windows machines
- Follow these setup instructions for Mac machines
Please note, when automatic backups are set up, it is best practice to check the backup file location regularly.
Option 2: Take a manual backup of the database as outlined below:
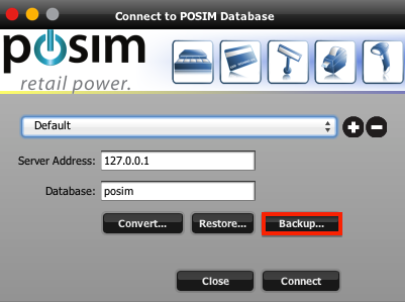
- Click the “Green Orb” on the right-hand side of the POSIM Navigator, this will open the database connection screen.

- Select “Backup.”
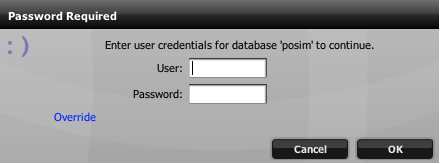
- When the login screen appears, enter login credentials and select OK.
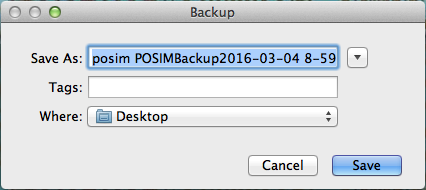
- Choose a location where the backup will be saved and select “Save.”
- A status bar will appear on the screen as the database is backing up. When the backup is complete, a message will appear confirming that the backup was successful. Click OK.
Restoring A Database:
To restore a database, first decide whether the existing database will be overwritten or if a new database will be created.
- To restore a database, a backup of a POSIM database is needed to restore. NOTE: A backup of POSIM will be a .jdi or .evodb file depending upon the POSIM version that is being used.
- While logged into POSIM, click the green orb on the Navigator to open the connection window.

- From the connection window, choose the preset and coordinating database name for which that will be restored. Once the proper database preset has been selected, click the Restore button.

- Enter the username and password to begin the process of restoring the database.

- After entering the username and password, a window will open to select the location of the backup file. Select the correct file and then select open.
- A confirmation message will appear on the screen.
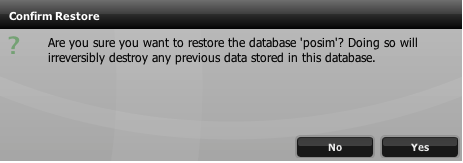
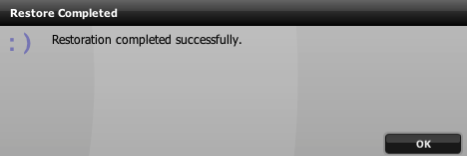
To overwrite the existing database with the backup file, select “Yes.” - A status bar will appear on the screen as the database is being restored. When finished, a message will appear showing that the restore has successfully completed.