How to Install POSIM as a Server on Mac
This article will outline the steps necessary for installing POSIM for the first time on Mac.
1. Ensure you meet the System Requirements (Link)
2. Download POSIM on your Server or main computer (Link)
3. Double click “POSIM EVO.dmg” and accept the license agreement. Then you will see the following.

4. Drag POSIM to the Applications folder. You will see the following.
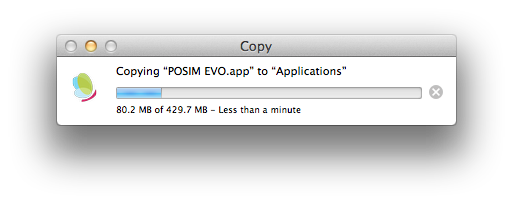
5. Launch POSIM from the Applications folder when it is done copying. You will see the following.
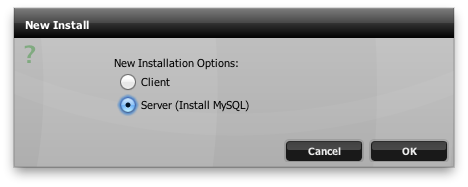
6. Choose Server and press OK. You will see the following.
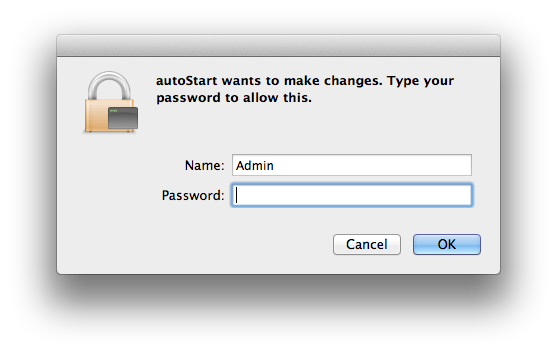
7. Type your Mac Administrator password and press OK. Then you will see the following.
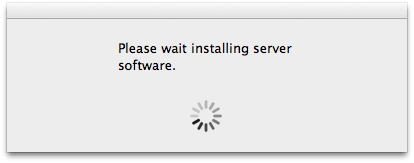
The Server Software (MySQL) will now install. When it is finished you will see the following.
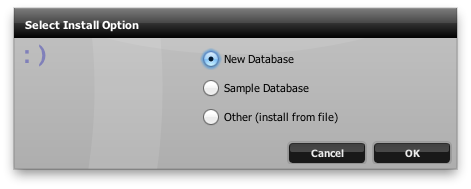
8. Choose “New Database” if you want to install a blank database. Choose “Sample Database” if you want to install a sample database. Choose “Other” if you want to restore from a backup database.
For this example, we will choose “New Database” and press OK. Then you will see the following.

This will install the blank database and POSIM will restart when it is done. Then you will see the following.
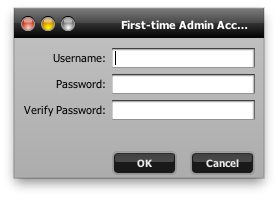
9. Type in a Username and Password for your POSIM administrator account and press OK. Then you will see the following.
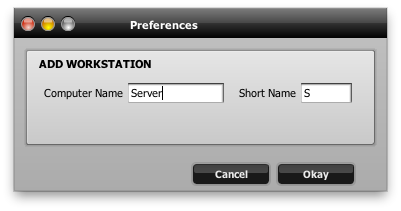
10. Type a name for this computer and press Okay. At this point, POSIM is installed successfully and ready to use.
