(function(w,d,s,l,i){w[l]=w[l]||[];w[l].push({'gtm.start': new Date().getTime(),event:'gtm.js'});var f=d.getElementsByTagName(s)[0], j=d.createElement(s),dl=l!='dataLayer'?'&l='+l:'';j.async=true;j.src= 'https://www.googletagmanager.com/gtm.js?id='+i+dl;f.parentNode.insertBefore(j,f); })(window,document,'script','dataLayer','GTM-PXRXDV8'); var _ss = _ss || []; _ss.push(['_setDomain', 'https://koi-3QNL6WU154.marketingautomation.services/net']); _ss.push(['_setAccount', 'KOI-47DC8RALVS']); _ss.push(['_trackPageView']); (function() { var ss = document.createElement('script'); ss.type = 'text/javascript'; ss.async = true; ss.src = ('https:' == document.location.protocol ? 'https://' : 'http://') + 'koi-3QNL6WU154.marketingautomation.services/client/ss.js?ver=2.4.0'; var scr = document.getElementsByTagName('script')[0]; scr.parentNode.insertBefore(ss, scr); })(); Skip to main content

How to Install Zebra Label Printer Driver on Mac OSX

1. Plug in the Zebra printer (Power and USB)
2. Turn the printer on (power switch on right side)
3. Go to Mac System Preferences (Apple>System Preferences) and you should see the following

zebra label printer systempref

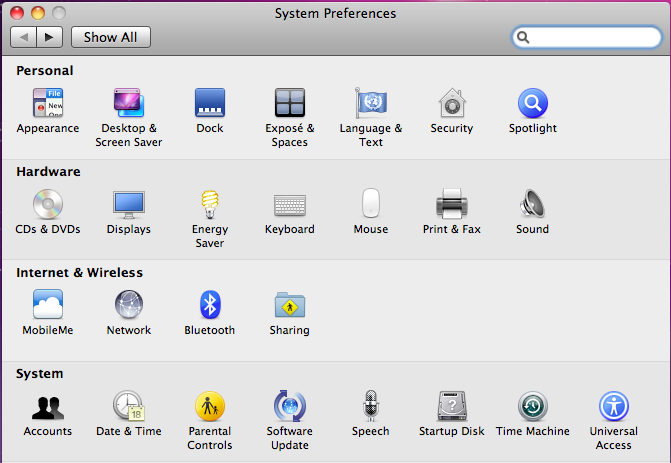
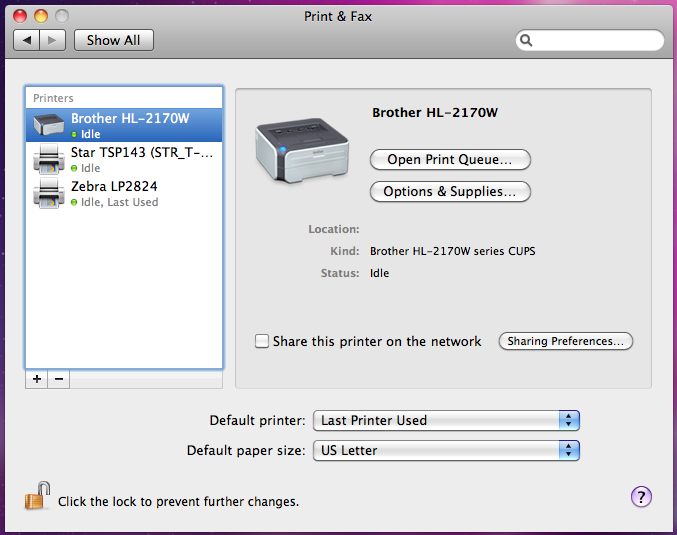
4. Click “Print & Fax” and you should see the following

zebra label printer printpref

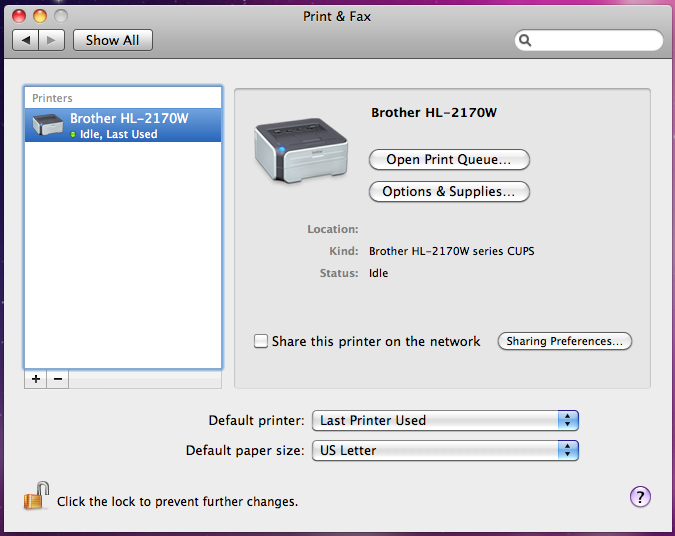
5. Click the “+” button and you should see the following

zebra label printer zebra1mac

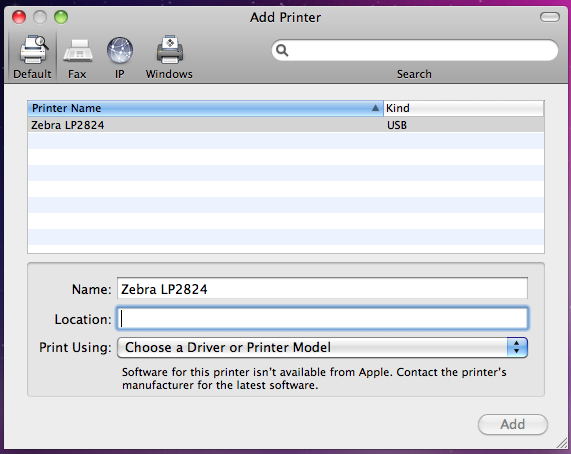
6. Highlight the Zebra Printer and you should do the following

zebra label printer zebra2mac

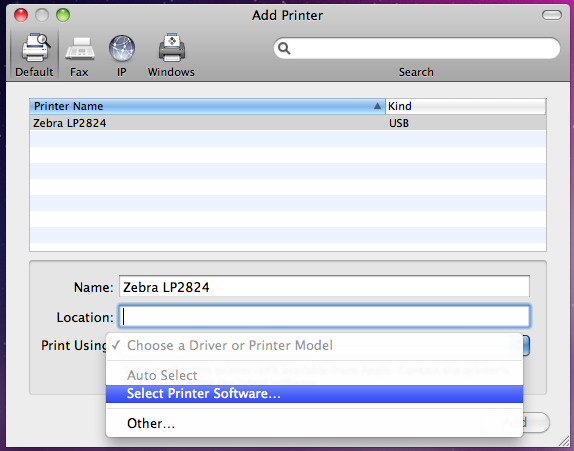
7. Choose “Select Printer Software” next to “Print Using” and you should see the following

ZPL printer select

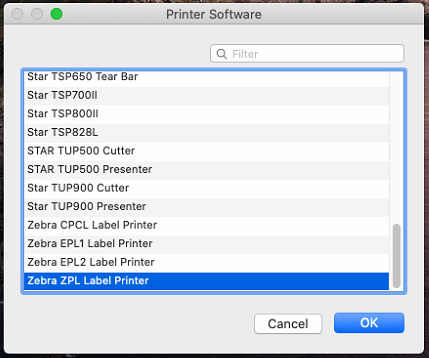
8. Type “zebra” in the search in the top right then select the line that says “Zebra ZPL Label Printer” then click OK and you should see the following

zebra label printer zebra5mac

You are now finished installing the Zebra Printer

NOTE: Zebra Printing is only supported on Mac OSX 10.5 and greater

Custom Fields
  • Applies to: All POSIM versions on Mac