Kit Builder Basics
POSIM’s Kit Builder feature allows users to create item-based kits which use other items as their components. The instructions below cover the basics of kit building.
- Create a “kit” item card. This item will represent the finished kit. Fill out any description fields, but leave cost and retail fields blank. These will be auto-populated when the kit is built.

A new “kit” item card.
- In Inventory under the Items dropdown, click Open Builder to begin building the new kit.
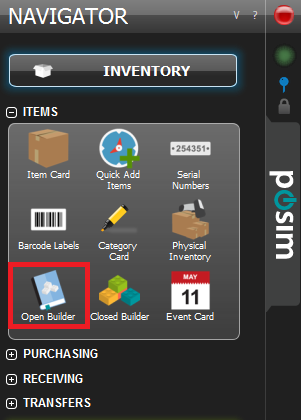
Click on the Open Builder button.
- Click the “+” button at the top of the Open Builder window to start a new kit.
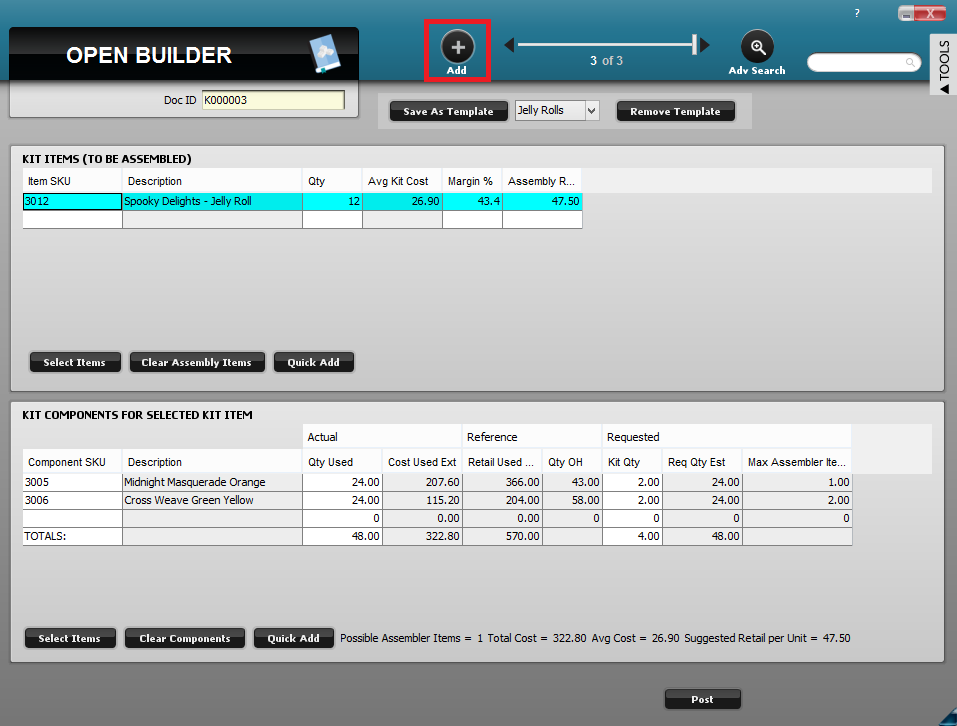
Click the “+” button to add a new kit.
- Under Kit Items (To Be Assembled), enter the item SKU of your kit item card.
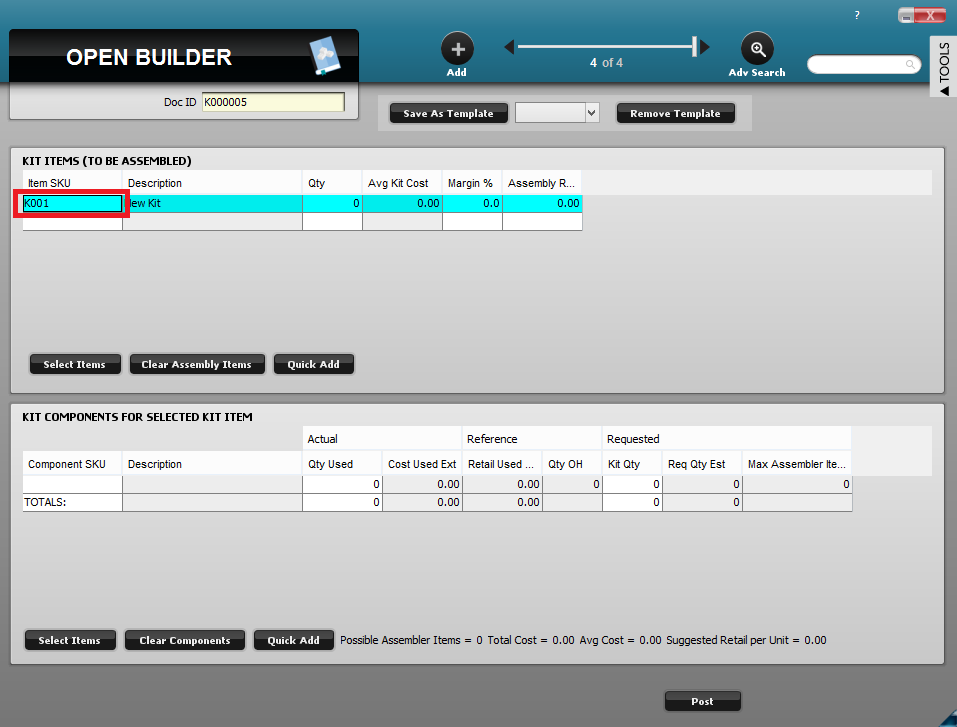
Enter the SKU of the “kit” item created in step 1.
- Specify the quantity of kits to be built in the Qty column.
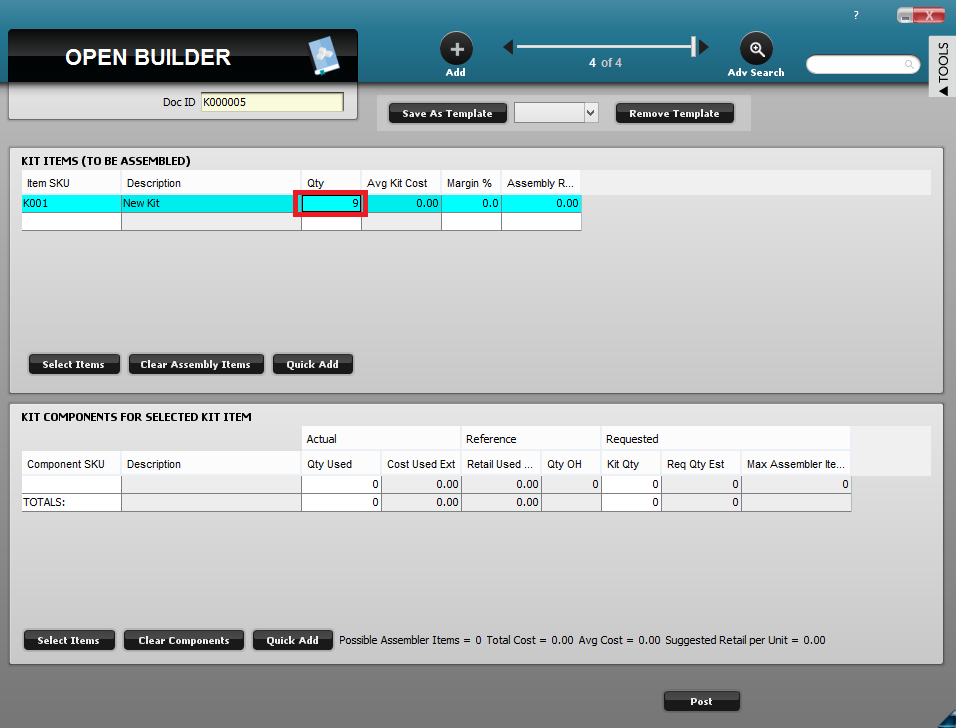
Enter the quantity of kit items to be assembled under Qty.
- Under Kit Components For Selected Kit Item, enter the SKUs of all desired components into the Component SKU column.
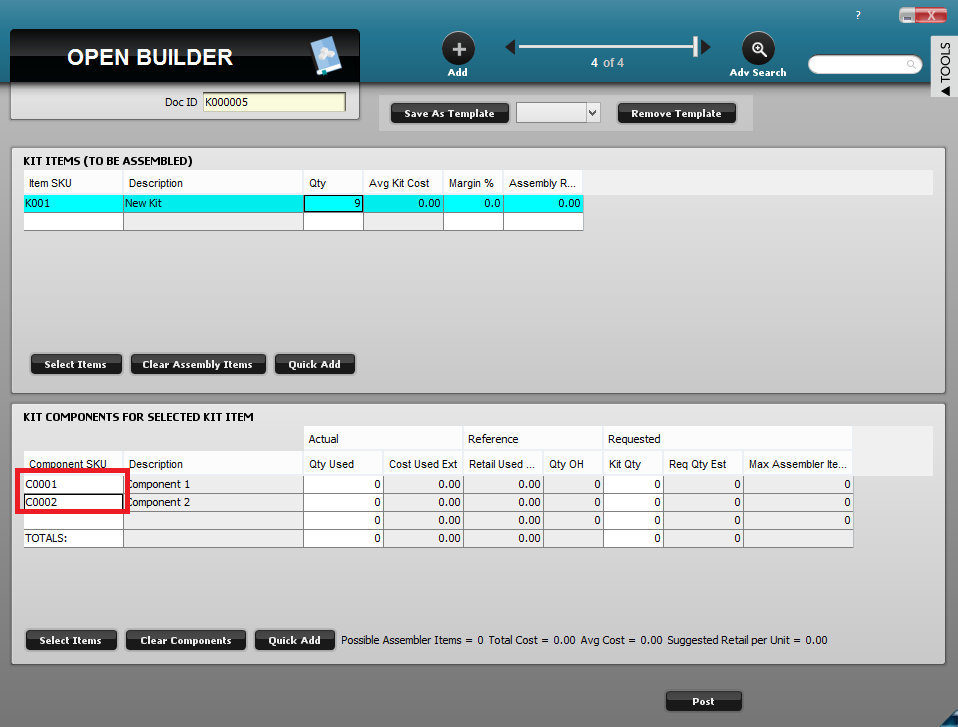
Enter any components for this kit into the Component SKU column.
- Under the Requested header, enter the desired quantity of each component item to be used per kit in the Kit Qty column.
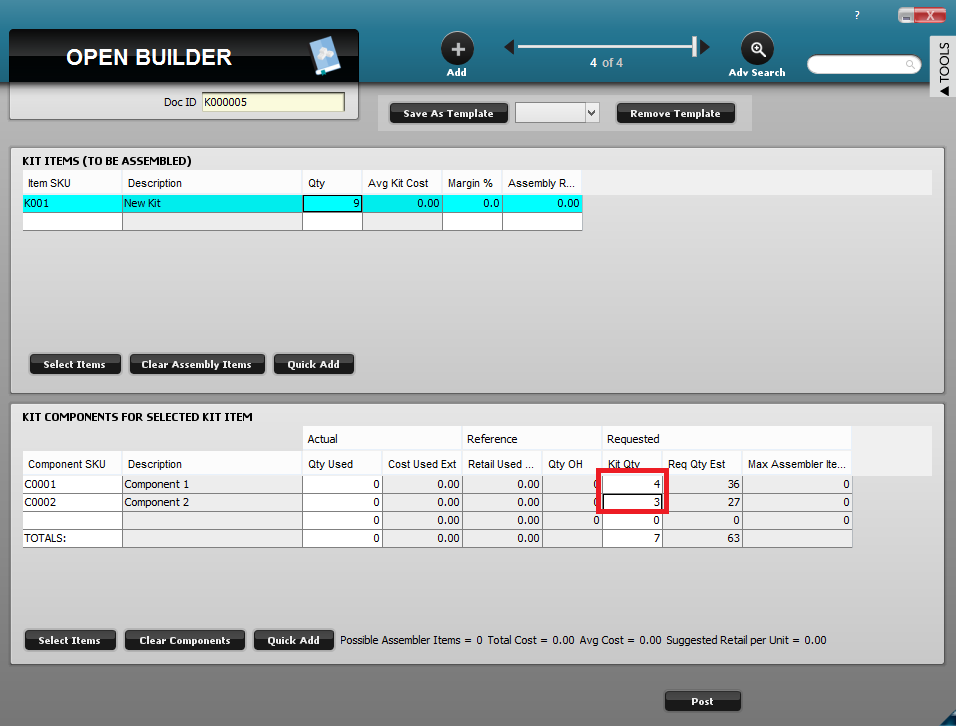
Enter quantity per-kit for each component under Kit Qty.
- In the Req Qty Est column, POSIM will calculate and display the estimated quantity of each component to be used based on the number of kits being assembled (Quantity * Kit Qty = Req Qty Est).
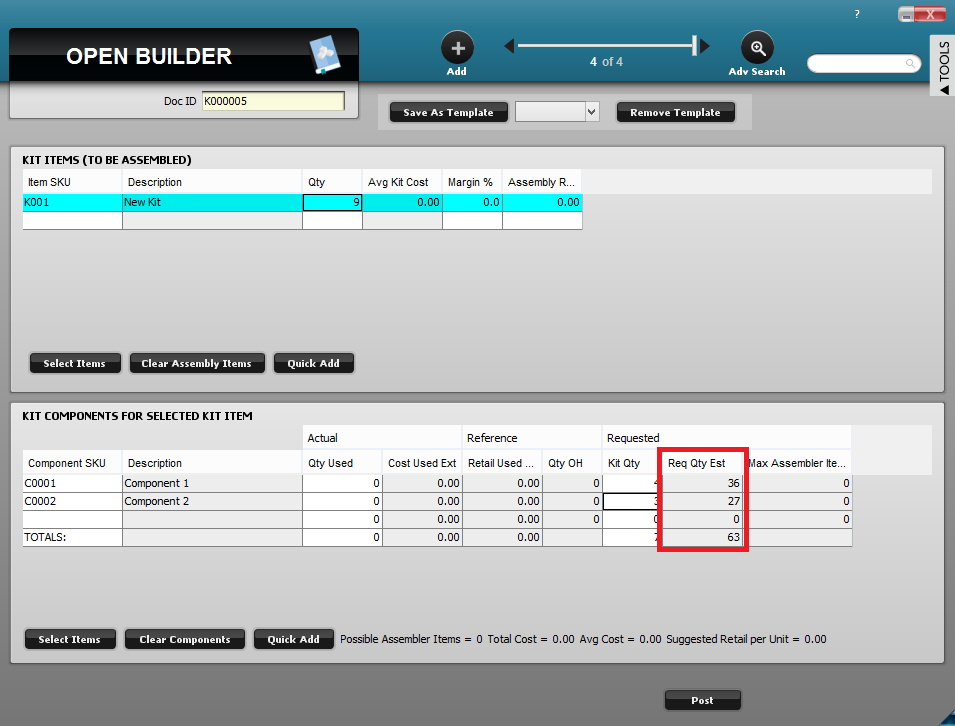
The Req Qty Est column calculates the total quantity to be used for each component.
- After verifying the Req Qty Est column is correct for each component, enter the numbers from that column into the Qty Used column under the Actual header. This is the column that tells POSIM how many of each component to take out of inventory when the kit is posted. Note: Qty Used cannot be zero for any listed Component.
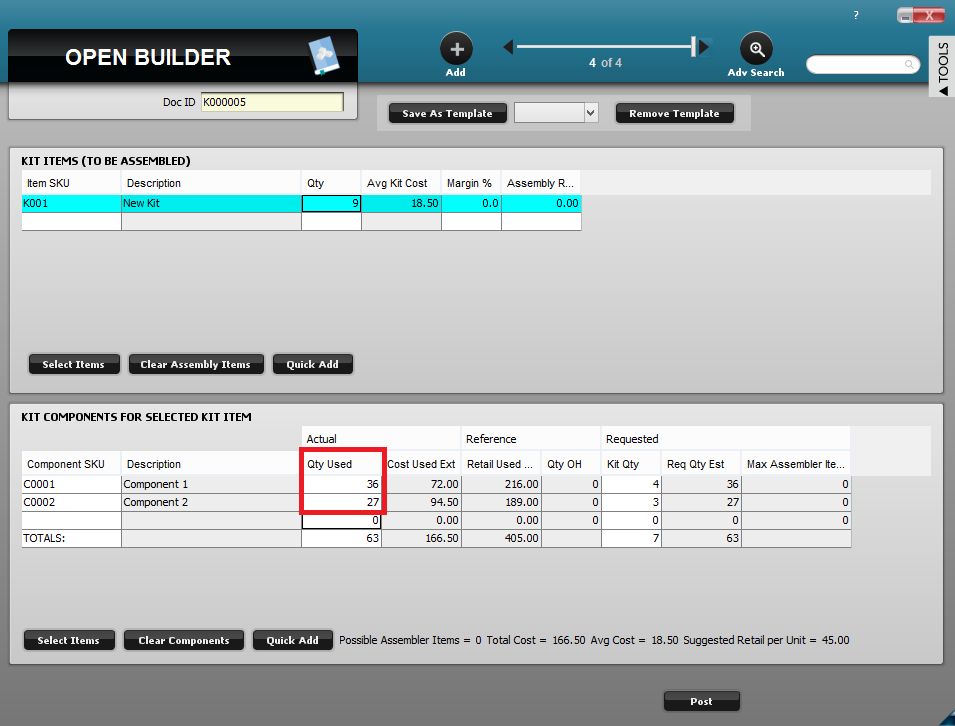
Enter the number of each component to be taken out of inventory. This should match the Req Qty Est column under Requested.
- To set the kit’s retail price before posting, refer to the Suggested Retail per Unit figure and enter that number for the final kit SKU under Assembly Retail. This will become the kit’s retail price when the kit is posted.
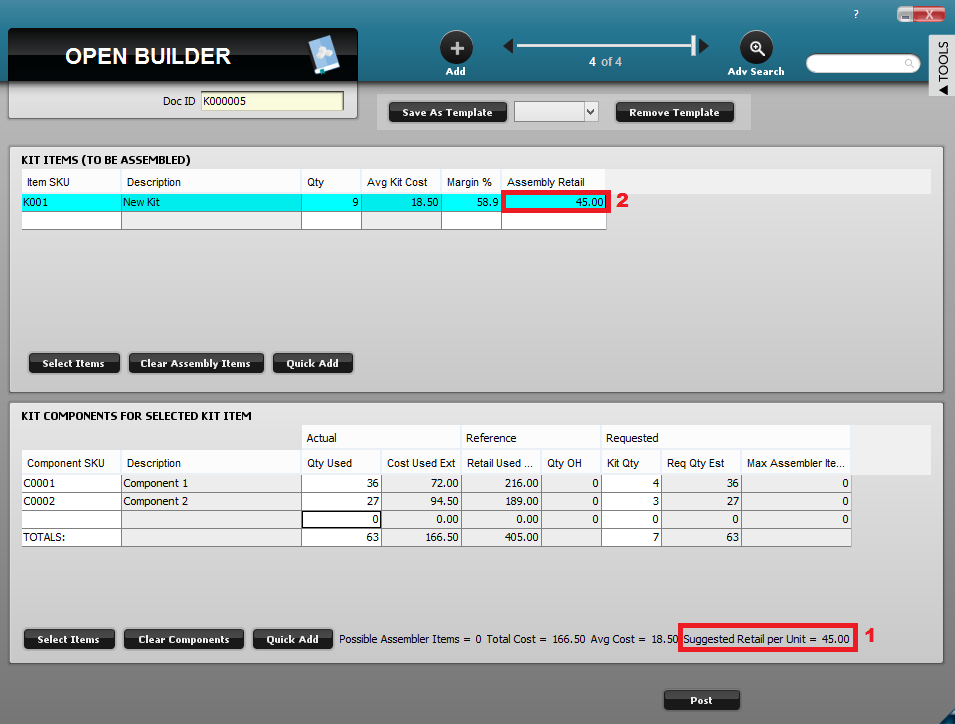
Use Suggested Retail as a guideline to fill out the kit’s Assembly Retail price.
- To create the kit click Post. This will deduct the component items from inventory and add the specified quantity of kit items accordingly.
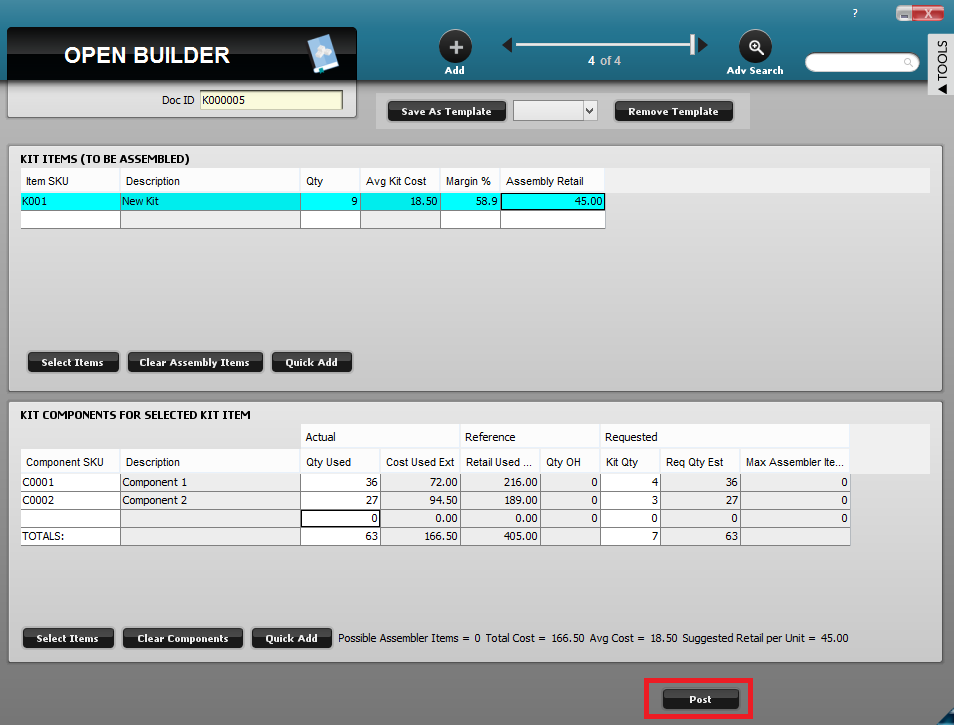
Click Post to post the kit.
- Return to the kit item card to verify the posted kit. On Hand quantity will match the number of kits set to be created in Open Builder. Likewise, any component quantities deducted will match the number specified in Open Builder.
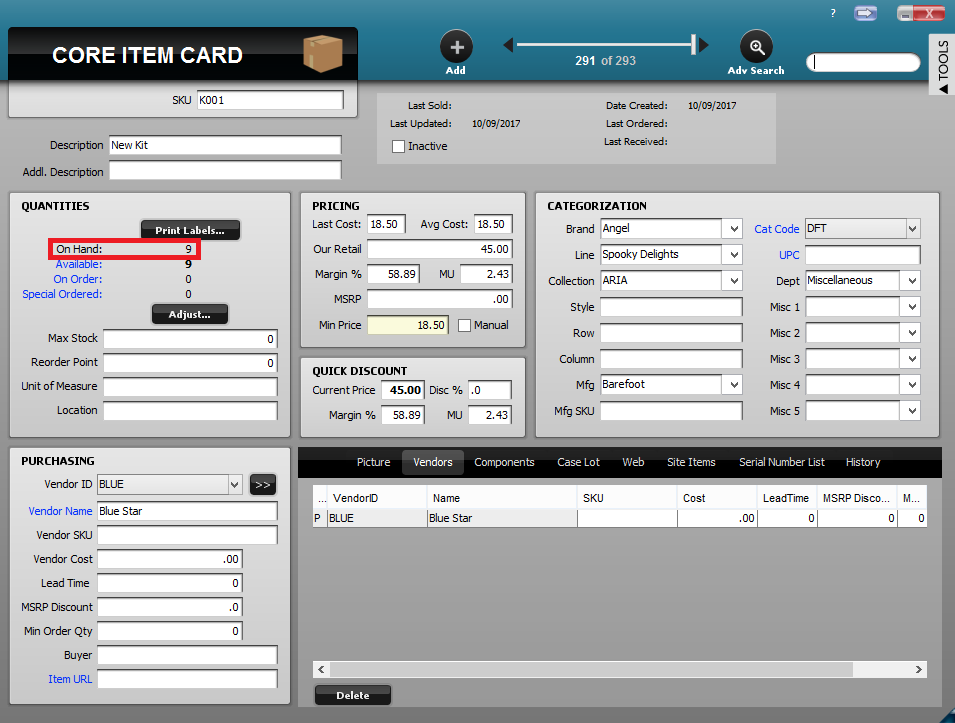
The kit’s On Hand quantity.
- To reference previously created kits, click on Closed Builder under Items.
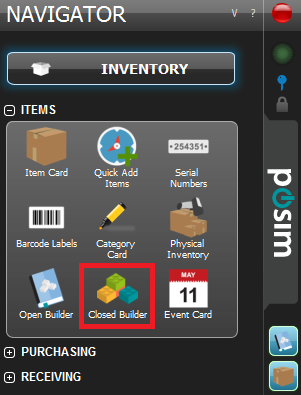
Click to open Closed Builder.
- In closed builder, Reverse Post can be used to reverse a kit, and the Print Labels button allows for printing of kit labels. Use Duplicate from the Tools slideout menu to duplicate a closed kit and post it again.
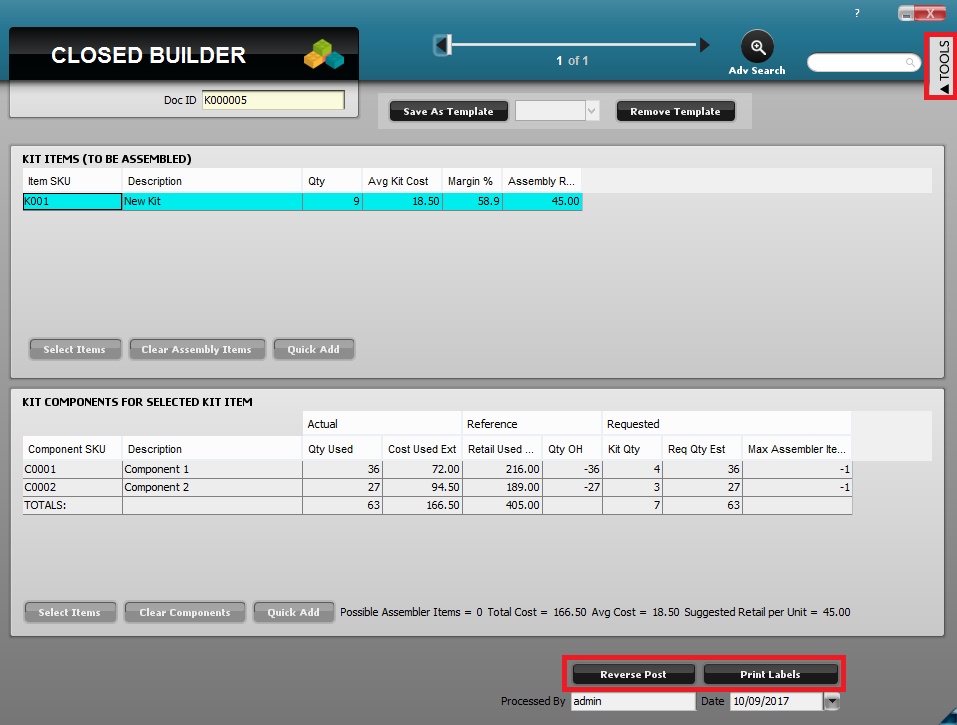
Reverse Post, Print Labels, and Tools menu in Closed Builder.